ServiceDesk Plus MSP Cloud Survey
ServiceDesk Plus MSP Cloud comes with built-in survey capabilities that enable you to create customized surveys and collect feedback from your end users. Administrators can generate detailed reports on survey responses to track user satisfaction and identify areas for improvement.
Role Required: SDAdmin
Survey Management in ServiceDesk Plus MSP Cloud involves the following steps:
- Configure Survey Settings
- Define Survey
- Send Survey
- View Survey Results
Configure Survey Settings
Survey settings enable you to configure default welcome message, survey success or failure messages, and thank you message. You can also enable or disable a survey and schedule it to trigger after a set number of requests are closed.
To configure survey settings,
Go to Setup > User Survey > Survey Settings.
- To enable the survey, select the Enable User Survey checkbox.
- Click Customize Template under Survey Notifications to customize the email sent to requesters. Specify the subject and enter your message. Add variables using the $ symbol. The value of the variable will be displayed in the mail sent to requesters.
- You can configure default values for messages sent under Survey Details,
- Enter the Welcome Message to be displayed on the landing page of the survey.
- Enter the Success Message to be displayed when the survey is successfully answered and submitted by the user.
- Enter the Failure Message to be displayed when the customer tries to take up the survey for the second time.
- Enter the Thanks Message to be displayed before the submit button in the survey form.
- Under Schedule Survey, choose when a survey should be sent:
- A request is closed: Survey mail will be sent whenever a request is closed.
- 'N' requests are closed: Specify the number of requests to be closed in the text box, after which a survey mail will be sent.
- 'N' requests from a requester are closed: Specify the number of requests to be closed for a particular requester in the text box, after which a survey mail is sent to the requester.
- Click Save to save the survey settings.
Define Survey
Define a survey by adding questions and satisfaction levels that suit the needs of your organization and users.
To define your survey, go to Setup > User Survey > Define Survey. Here you can add, edit, or delete your survey questions and satisfaction levels.
Add Survey Questions
- Click Add Question.
- In the pop-up, enter your question in the text box.
- Click Save. The question will get added to the Questions tab.
You can add any number of questions to the survey. You can also change the order of questions by clicking the arrows beside each question.
Edit/Delete Questions
- To edit a question, click
.
- To delete a question, click
.
- If you delete a question from the survey, it will impact the previously collected survey results.
Add Satisfaction Levels
Satisfaction level is a metric used to measure user satisfaction of the product or service. To add satisfaction levels,
- Go to Define Survey > Satisfaction Levels.
- Click Add Level.
- In the Add Level pop-up, enter the satisfaction level in the text box provided.
- Click Save. The satisfaction level is added, and the Define Survey page is refreshed to display the added satisfaction level.
You can add any number of satisfaction levels to the survey by following the above steps.
You can change the order of satisfaction levels by clicking the arrows available beside each question. Satisfaction levels scale from Good (bottom) to Bad (top).
Edit/Delete a Satisfaction Level
- To edit a satisfaction level, click
.
- To delete a satisfaction level, click
.
If you delete a satisfaction level from a survey or change its order, it will impact the previously collected survey results.
Survey Translation
Admins can translate survey questions sent to requesters in the language of their choice. The survey can be translated into 40 languages.
Add New Translation
To add a new translation,
- Go to Define Survey > Survey Translation.
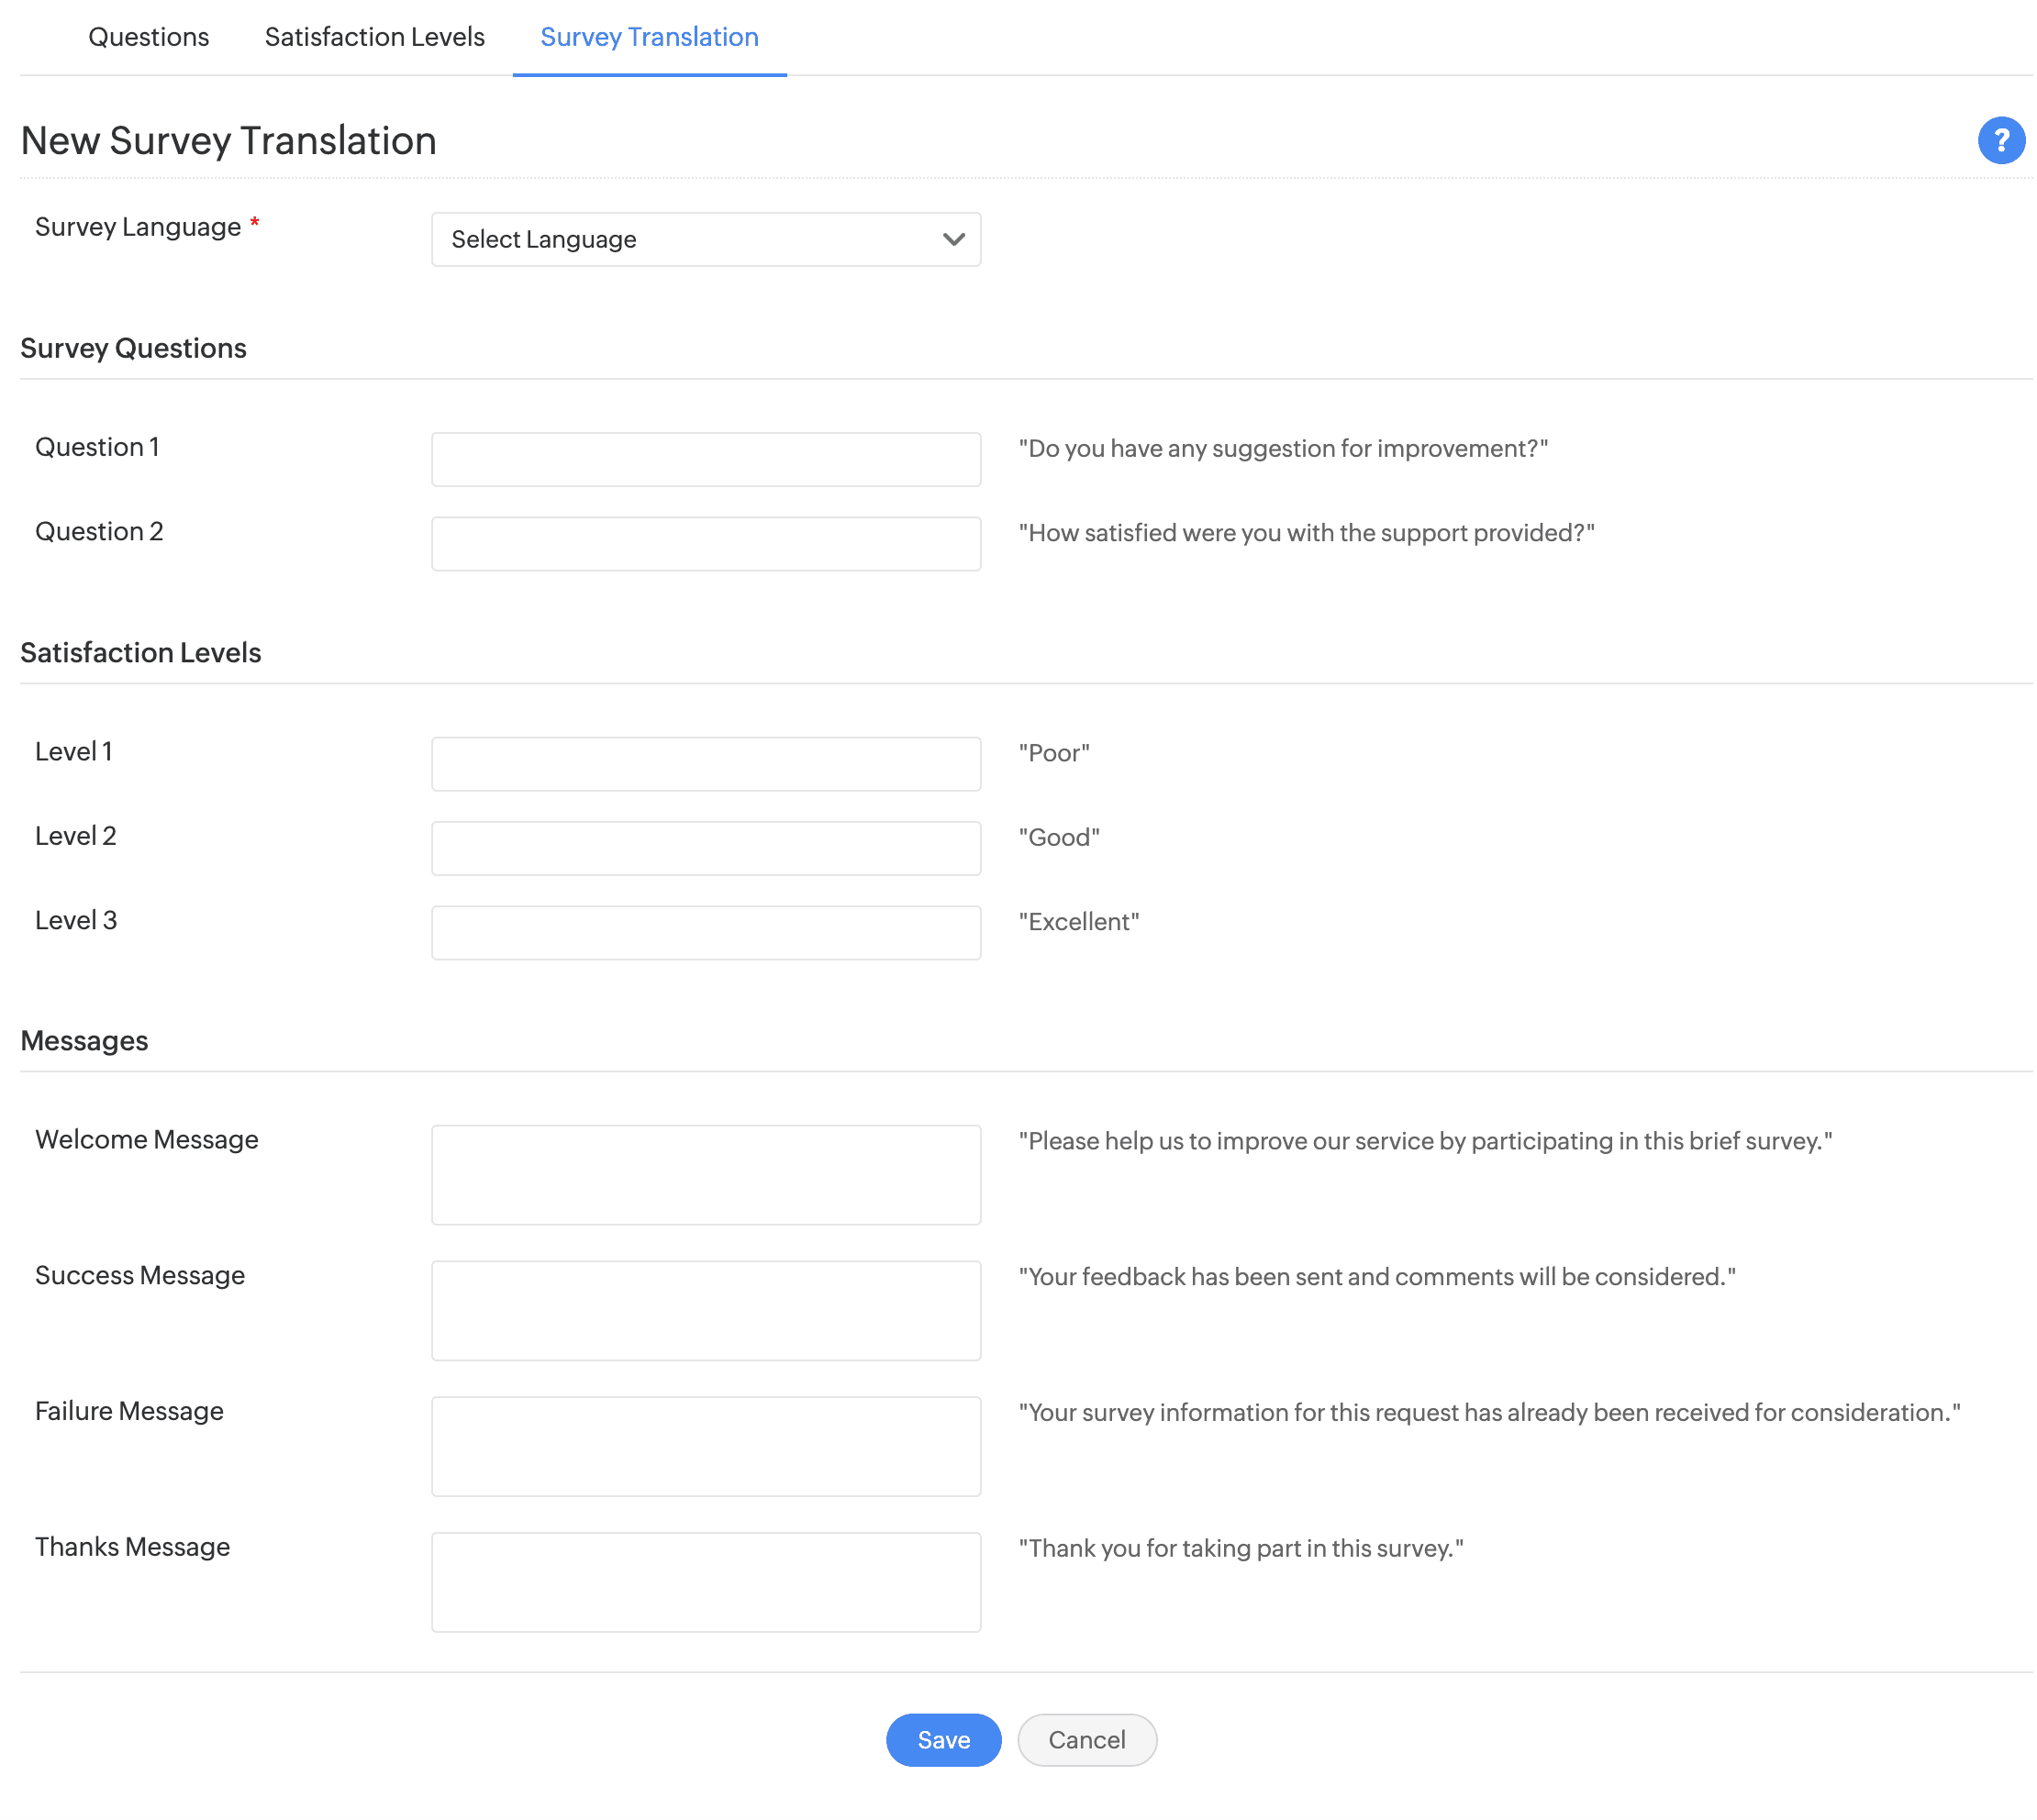
- Click New Translation. The New Translation form appears.
- Select the Survey Language from the drop-down list. The languages for which a translation is added do not appear again in the Survey Language drop-down list.
- Enter the Survey Questions in the selected language.
- Similarly, specify the Satisfaction Levels and Messages in the respective fields.
- Click Save to save the new translation in the list view.
Enable or Disable Translation
To disable a language, select the checkbox beside the language and click Disable.
To enable a language, select the checkbox beside the language and click Enable.

By default, when a new translation is added, the language will be enabled.
The requester survey form contains a Display Language drop-down, listing all enabled languages configured under the Survey Translate tab. Select the language to view the translated survey.
Edit a Translation
- To edit a translation, click
.
- The Survey Language cannot be edited. You can modify the details in Survey Questions, Satisfaction Levels, and Messages.
- Click Update to save the changes.
Delete a Translation
- Select the checkbox beside the language you wish to delete.
- Click Delete. A confirmation box appears. Click Yes to delete the language.
Survey Preview
View how the survey will be displayed to the user under the Setup > User Survey > Survey Preview.
Send Survey
If the survey is enabled in Survey Settings, a technician or SDAdmin can manually send a survey to requesters when a survey is closed.
To send the survey:
- Click the Requests tab.
- In the Requests list view, select the filter Completed Requests or My Completed Requests.
- Click the request Subject for which you wish to send the survey.
- Click Send Survey, available under the Actions drop-down. The survey will be sent to the requester via email.
Related Articles
User Survey
ServiceDesk Plus MSP Cloud allows you to create and send surveys to customers and collect their valuable feedback and responses. To access user survey, go to Setup > User Survey. You can configure surveys in two ways: ServiceDesk Plus MSP Cloud ...Zoho Survey
ServiceDesk Plus MSP Cloud integrates with Zoho Survey, which enables users to create survey templates and evaluate customer responses in real time. Zoho Survey enhances the usability of surveys in a help desk and allows users to create multiple ...Zoho Survey Integration
ServiceDesk Plus MSP Cloud integrates with Zoho Survey, a powerful survey-building tool. With Zoho Survey, you can create user-friendly surveys in minutes and gain valuable customer insight to improve your help desk service. Role Required: SDAdmin ...Survey Language for Requesters
When taking the survey, if the requester is signed into ServiceDesk Plus MSP Cloud with their credentials, the display language of survey will be set according to the requester's preferred language in their Zoho Accounts user profile. When the ...Introduction to ServiceDesk Plus MSP Cloud
Welcome to the Knowledge Base for ServiceDesk Plus MSP Cloud. ServiceDesk Plus MSP Cloud is a comprehensive, web-based help desk management suite built specifically for managed service providers (MSPs). It combines various ITSM processes such as ...