Zoho Survey
ServiceDesk Plus MSP Cloud integrates with Zoho Survey, which enables users to create survey templates and evaluate customer responses in real time. Zoho Survey enhances the usability of surveys in a help desk and allows users to create multiple survey templates and question types.
Integration with Zoho Survey allows survey creation, update, and deletion only from Zoho Survey. From ServiceDesk Plus MSP Cloud, you can only schedule and trigger the surveys.
You can disable the integration anytime.
To set up the Zoho Survey integration, go to Setup > Apps & Add-ons > Zoho Survey. After you set up the integration, you can configure survey settings under Setup > User Survey > Survey Settings.
Role Required: SDAdmin
All requesters with a valid email ID can access the survey. Only the SDAdmin can create and enable the survey within the application.

On enabling Zoho Survey, ServiceDesk Plus Survey will be disabled but all the previous survey results are stored and can be referred to any time from Survey Results > ServiceDesk Plus Survey Results.
You can disable Zoho Survey anytime, and it will switch back to ServiceDesk Plus Survey automatically.
Zoho Survey management within ServiceDesk Plus MSP Cloud involves the following steps:
- Configure Survey Settings
- Create Survey Templates
- Configure Survey Rules
- Ad-hoc Survey
- View Survey Results
Configure Survey Settings
Under Survey Settings, you can:
- Enable or disable user surveys
- Customize the survey email template
- Schedule surveys
- Configure survey exclusions
- Set survey reminders
- Modify the default Welcome Message and Page Revisit Message.
To configure survey settings,
- Go to Setup > User Survey > Survey Settings.
- Toggle Send Survey to disable or enable sending of surveys. Select a module for which you want to configure survey settings. If the survey is not related to any module, you can select Ad-hoc Survey from the drop-down.
Configure Email Notification Template
Click Customize under Survey Email Template to create an email notification template for the survey.
You can add placeholders to the notification subject/message by using the $ symbol.
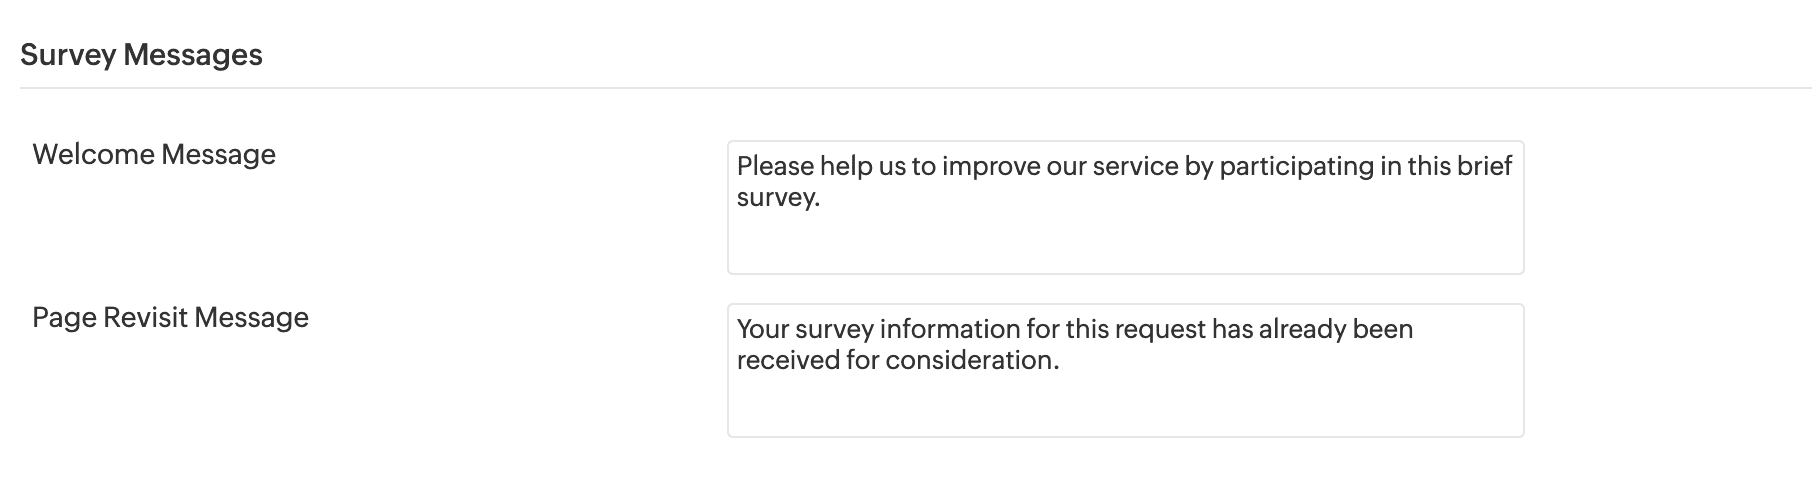
Configure Default Messages
Welcome Messages: Enter the welcome message to be displayed when a requester opens a survey link.
Page Revisit Message: Enter the message to be displayed when the user attempts to reopen a completed survey.
Schedule Survey
Configure when a survey must be sent to the user. Depending on the module selected, choose from the available options.
The following example is for requests module survey.
- Each time a request is closed.
- After a certain number of requests are closed.
- A specific number of requests from a specific requester is closed.
Survey Exclusion
Exclude sending surveys on specific conditions by selecting the Do not send survey emails when the following conditions are matched checkbox.
Set conditions to exclude surveys:
- Select the column name and operator.
- Based on the selected column name, enter the value.
- Use
icon to add multiple conditions.
- You can specify AND/OR operators to define multiple conditions. By default, the AND rule is set for multiple conditions. Click on the AND rule to change to OR rule.
- Use the
icon to drag the condition in the order of execution. You can add nested conditions by dragging a condition and dropping it in the indentation space below another condition. Nested conditions are denoted with a drop-down icon.
If a request matches the conditions set, the survey email will not be sent to the requester.
Multiple rules will be executed sequentially, based on the order listed on the Survey Settings page.
You can also exclude technicians from taking the survey by enabling the Exclude Technicians from Survey checkbox.
Survey Reminder
You can enable the following option to notify users if they have not taken the survey within a certain number of days:
Survey Templates
Design survey templates by using Zoho Surveys and track the results from ServiceDesk Plus MSP Cloud.
To create survey templates and manage the responses,
- Go to Setup > User Survey > Survey Templates.
- Click New Template. You will be redirected to Zoho Survey via a pop-up window. You can create a new survey, import a survey, use an existing survey, or use any one of the templates from the Template Gallery.
- You can add questions, create question types, or build logic into the questions in Zoho Survey. To learn more, visit this page.
- After you save the template in Zoho Survey, it will be automatically published and listed in ServiceDesk Plus MSP Cloud. Provide scores for questions immediately after creating the template. This will be useful for evaluating user responses.
- All saved templates will be displayed in the Survey Templates list view, along with the number of responses for each template and the overall score. You can edit and preview the template using the
icon on the list view and mark it as default using the
icon.
You can edit or delete survey templates only from the Zoho Survey page before any response is received for the template. Templates cannot be edited or deleted after users start responding to that survey.
Default templates are sent when no rule is defined or matches the criteria.
Ensure that you set the score before marking a template as default or configuring survey rules.
Configure Custom Variables
You can configure custom variables in survey templates to add request details to the survey.
- Go to Setup > User Survey > Survey Templates.
- Click the
icon beside the template name and select Configure Custom Variables.
- Enable the checkbox beside the parameter name to add it as a custom variable. Currently, the supported parameters are Module Name, Module ID, Requester, and Technician.
- Enter the Display label name for the selected parameters. This name will be displayed in the survey reports.
- Click Save.
You can view survey reports from the Reports tab in Zoho Survey. The custom variable added to the survey fetches relevant request details and shows them in the survey report.
View Custom Variables
To view custom variables configured for the template, click Actions  beside the template name and select Display Custom Variables.
You cannot add or edit custom variables once users start responding to the surveys.
Survey Rules
Survey rules define the survey to be sent for a specific request based on predefined conditions. They automate the process of sending surveys to requesters based on the request details. You can define the request criteria for sending a survey and associate it with a survey template. If no template matches the request criteria, the default survey template will be used.
To define survey rules, click New Rule. Use the pointers below to define a survey rule.
Field | Description |
Rule Name* | Provide a unique name for the survey rule. |
Description | Add information to describe the purpose of the rule. |
Conditions* | Define the rule conditions by selecting the column, operator, and value. Use the Use the Each rule will be checked in sequence. |
Survey templates* | Select the survey template to be associated with the rule. You can preview the associated template and also mark it as default, if required. |
Rule Status | Enable or disable the rule as per your requirements. Note that only enabled survey rules will be executed. |
* Mandatory Fields
After the rule is saved, you can view the saved rule with its associated templates and status on the survey rules list view. You can enable or disable the rule on this page.
Use the  icon to edit, delete, or disable a rule.
The rules on the list view are executed sequentially until the condition is met. You can organize the rules to modify the execution sequence by hovering over the rule and using the  icon to drag and reorder the rule.
In ServiceDesk Plus MSP Cloud, you can configure up to 40 survey rules in each module.
Ad-hoc Survey
Use Ad-hoc Survey to send surveys directly to users or user groups. You can configure when the survey should be sent and if it should be sent daily, weekly, monthly, or yearly. You can send ad-hoc surveys to only 100 users at a time.
- Enter a name and description for the survey.
- Choose a customer.
- Choose and associate a survey template that you have created. Click Preview to check how the survey will be shown to the users. You can also mark a template as default.
- Select the intended user type for the survey. Select All Users to include all the users in your organization. Select User Groups to include only users from certain user groups.
- In the Survey Start Date, select when the survey should be triggered.
- In the Repeat field, choose whether the survey should be sent daily, weekly, monthly, or yearly.
Related Articles
Zoho Survey Integration
ServiceDesk Plus MSP Cloud integrates with Zoho Survey, a powerful survey-building tool. With Zoho Survey, you can create user-friendly surveys in minutes and gain valuable customer insight to improve your help desk service. Role Required: SDAdmin ...User Survey
ServiceDesk Plus MSP Cloud allows you to create and send surveys to customers and collect their valuable feedback and responses. To access user survey, go to Setup > User Survey. You can configure surveys in two ways: ServiceDesk Plus MSP Cloud ...Survey Language for Requesters
When taking the survey, if the requester is signed into ServiceDesk Plus MSP Cloud with their credentials, the display language of survey will be set according to the requester's preferred language in their Zoho Accounts user profile. When the ...Send Survey to Requesters
When a request is closed, the application can send a survey to the requester if enabled in the application. After the requester completes a survey, the survey results can be viewed individually for each of the requests in the application under Setup ...Zoho Circuit
Zoho Circuit is a platform that allows you to build nested tasks, create workflows with low or no code, and automate them. Workflows created in circuits are state machines that can trigger and track each step automatically, and retry when there are ...